Are you ready to take the plunge into jQuery radio button mastery? If so, then you’ve come to the right place! Here we’ll make sure that your jQuery radio button knowledge is up to date, so you can quickly and easily add them to your web pages.
Let’s get started and see how easy it is to check a radio button with jQuery!
Using jQuery to check a radio button can be achieved with a simple statement that leverages the checked attribute. This is an effective way to automatically select a radio button within a form or to check that a user has selected the correct radio button before submitting their form entry.
To help illustrate how this works, we’ll outline the steps for checking a radio button with jQuery below.
What is jQuery?

jQuery is a fast, small and feature-rich JavaScript library. It is easy to learn and perform simple tasks such as manipulating the document object model (DOM) of a web page to traverse HTML documents, handle events and build the animation.
It also simplifies many complicated tasks in JavaScript by taking common tasks that require multiple lines of code and wrapping them into methods that can be called with a single line of code.
The primary use of jQuery is to make it easier for developers to select elements on a web page using familiar CSS syntaxes like ID, class and attribute selectors. Rather than making separate calls to getElementsByTagName() or getElementById(), developers can access elements on the page by sending jQuery one selector per statement which makes it easier to find elements matching one or more criteria.
One popular use case of this library is to select an HTML element such as a checkbox or radio button in order to check or uncheck it programmatically with jQuery. This can be done using the attr() method which sets an attribute value on any selected element(s).
In this particular case, you can pass in “checked”, true or false accordingly as its argument value in order to effectively check/uncheck any radio button element along with other input types like a checkbox.
What is a Radio Button?
A radio button is an HTML element that allows a user to choose one option from a set of options. It is usually used as an input element in forms, allowing the user to select one option from a list. Each radio button has a unique value that can be retrieved when the form is submitted. The most common way to style radio buttons is with the use of CSS.
In jQuery, the checkbox state can be changed using the attr() and prop() methods. When using the attr() method, you must use either ‘checked’ or ‘unchecked’ as values for the given attribute. When using the prop() method, you must use either true or false as values for setting checked/unchecked state respectively. Additionally, when retrieving values from form elements that are not checked, it may return null depending on what HTML version you are working in.
Benefits of using jQuery to check a Radio Button
Using jQuery to check a radio button has many advantages. For starters, it is a cross-browser compatible library that makes coding much easier, as it provides an API to access and manipulate the DOM (Document Object Model). Additionally, the efficient use of jQuery can greatly reduce the amount of code needed to achieve the desired results.
A key benefit of using jQuery to check a radio button is that codes can be written and tested across multiple browsers quickly, with less time and effort than switch statements or manually manipulating HTML elements. This reduces time spent debugging, which consequently also prevents compatibility bugs from occurring. Using jQuery also encourages compact code writing which improves overall application performance because fewer resources are required for processing code.
Moreover, jQuery is focused on keeping things simple for developers and users alike. The syntax for checking a radio button via jQuery is really easy to understand: all you have to do is select the name attribute of your desired radio input field and then call .prop(“checked”, true) method; this will make your choice checked when the page loads: $(“input[name=option]”).prop(“checked”, true);. Additionally, you can use shortcut methods such as .check() or .attr(“checked”,”checked”) depending on your preferred coding style.
Steps to Check a Radio Button Using jQuery
Using jQuery is one of the most efficient and reliable ways to check radio buttons. It requires limited coding and eliminates the need for complex JavaScript programming. The following steps will guide you through checking a radio button using jQuery:
1. Find the input field for the radio button that you would like to check: You can do this using the jQuery selector function. To find the input field for the radio button you would like to check, use $(‘input[type=radio][name=”nameoffield”]’).
2. Set the checked property of the radio button input field to true: This can be done using .prop() or .attr() functions in jQuery. If you are using .prop(), you can use something such as:”$(‘input[type=radio][name=”nameoffield”]’).prop(‘checked’,true);” If you are using .attr(), use: “$(‘input[type=radio][name=”nameoffield”]’).attr(‘checked’,’checked’);”
3. Perform any additional actions: Such as refreshing or updating other parts of your web page when this selection has been made (if necessary). For example: “$(‘.someelement’).trigger(“change”);”. This line triggers an event which may need to update other elements on your page depending on what code has been written.
With that, your radio button should now be checked! Remember to always test this out before deploying it in production — making sure it fits into your application and behaves properly with other existing code structures.
Troubleshooting Tips
If you are having trouble getting your jQuery code to properly activate your radio button’s behavior, there are several troubleshooting tips that might be useful.
Make sure you have properly linked the necessary Javascript files; jQuery and any plugins must be included in order for the jQuery code to work.
You should also double-check that any of your selectors are referencing a valid element or group of elements, otherwise, they will not be able to find anything and will not execute.
Additionally, make sure that the radio button is actually visible on the page before executing any code on it; if it appears within a collapsed element (such as an accordion or tab), it cannot be targeted until after it has been made visible.
Finally, check the syntax of your code and look for typos or missing braces. Simple mistakes like these can easily prevent your program from working correctly.
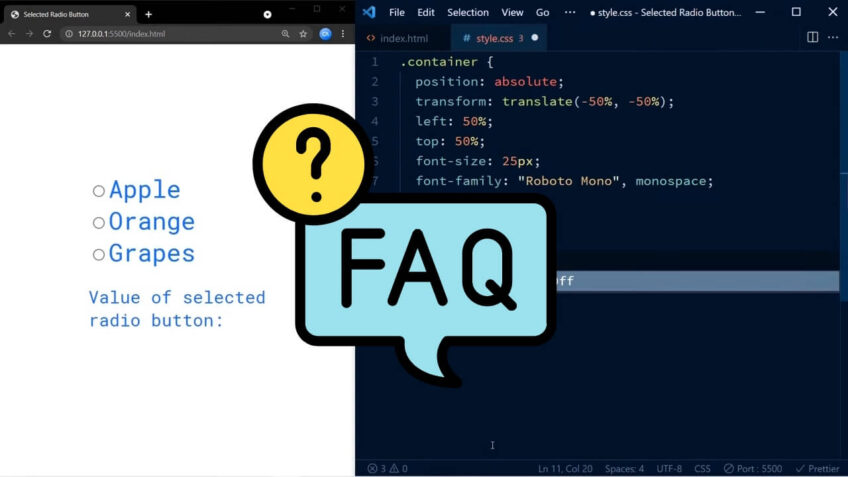
FAQ
How do you check if a radio button has been checked?
There are a few different ways to check if a radio button has been checked. The simplest way is to use the ‘hasClass’ method on the buttons:
Choose One
var myButton = document.getElementById(“myRadio”);
if (myButton.hasClass(“checked”)) { //The button has been checked } else { //The button has not been checked }
Another way is to use the ‘addEventListener’ method and attach an event handler for the ‘click’ event:
Choose One
var myButton = document.getElementById(“myRadio”), myCheckedHandler = function(){ //The function will be called when the ‘click’ event is triggered };
myButton.addEventListener(“click”, myCheckedHandler, false);
How do I allow only one radio button to be checked?
There are times when you may only want to allow one radio button to be checked on a form. To do this, use the jQuery selector .form input:checked. This will only allow the input to be selected if it is currently checked.
How to get selected radio button value in JavaScript by name?
In order to get the selected value of a radio button in JavaScript, you can use the name of the radio button as an identifier. To do this, you first need to find the name of the radio button in question.
You can do this by looking for an id property on the radio button object. Next, you can use that id to access the corresponding element in your document DOM. Finally, you can use that element’s innerHTML property to get the selected value of the radio button.
Conclusion

To summarize, jQuery has given us a powerful set of tools to check and uncheck radio buttons with. It also allows us to easily create custom elements like checkboxes, radio buttons and dropdowns with their own unique functionality.
With careful consideration and planning, we should have no problem controlling the state and interaction of our form fields with the help of jQuery.